Limoges Box Guide · How They're Made
How Limoges Boxes Are Made
A step-by-step look at the many hands, molds and kiln firings that turn white clay into a hand-painted, hinged Limoges box.
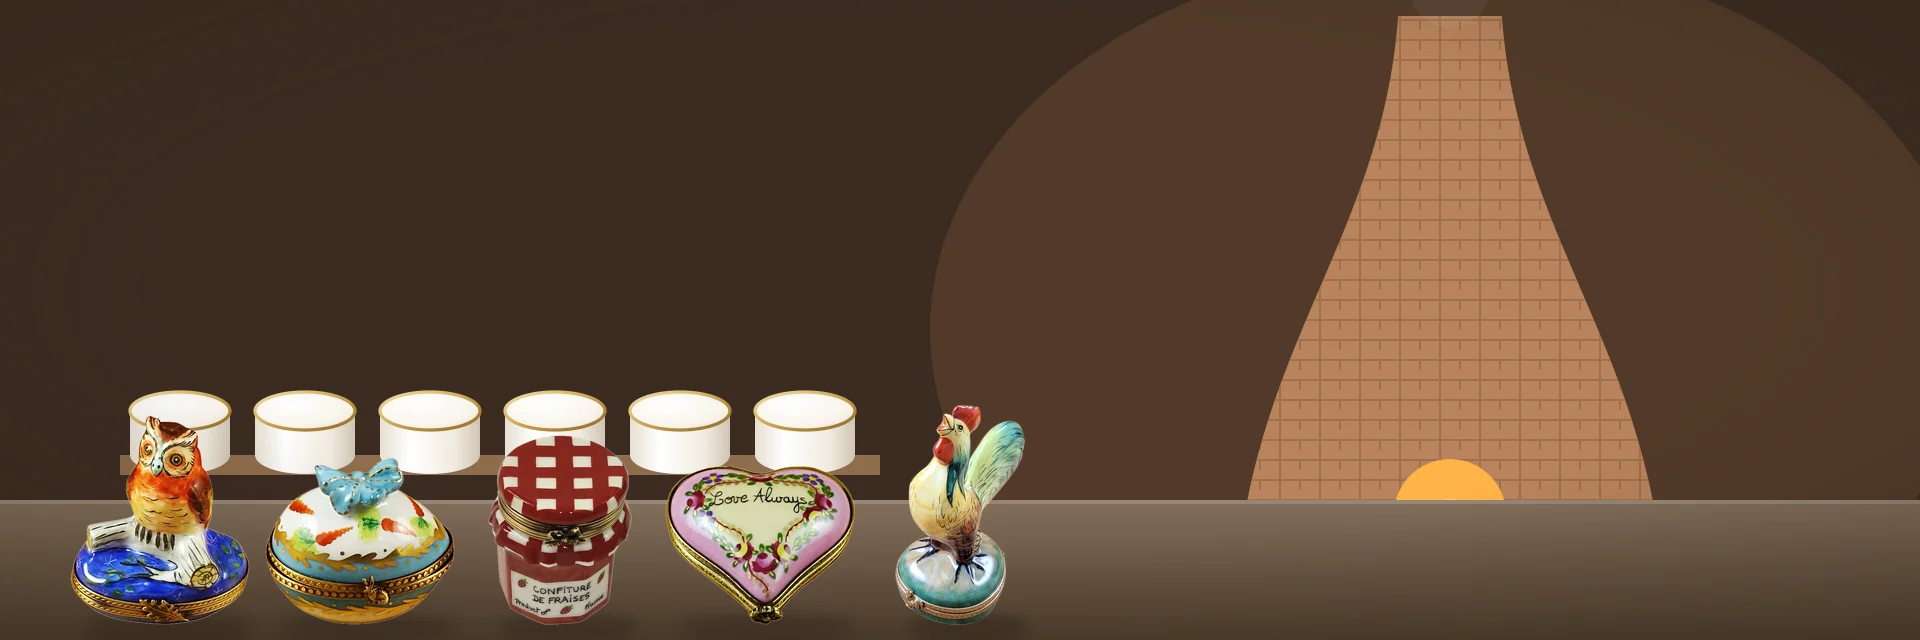
A Limoges box looks simple: a little porcelain shape with a lid, a hinge and a painted scene. In fact it passes through a dozen or more stages, several kiln firings, and the hands of mold makers, casters, finishers, painters, gilders and metalworkers before it’s ready to open.
On this page
- The raw material: hard-paste porcelain
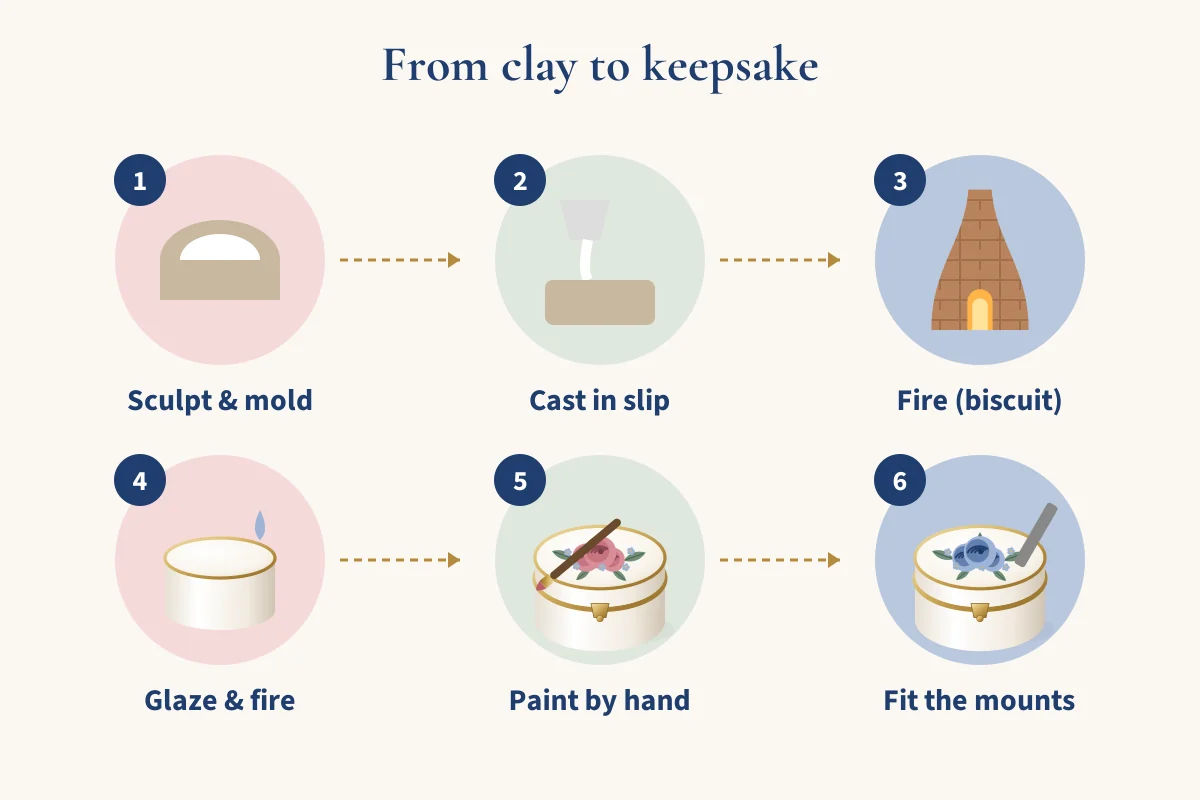
- Step 1: Designing and modeling the shape
- Step 2: Making the molds
- Step 3: Slip casting
- Step 4: Drying, fettling and assembly
- Step 5: The biscuit firing (dégourdi)
- Step 6: Glazing
- Step 7: The glaze firing (grand feu)
- Step 8: Hand painting in layers
- Step 9: Gilding
- Step 10: Fitting the brass mounts, hinge and clasp
- Step 11: Surprises, finishing touches and packing
- Step 12: Quality control
- How long does it take?
- Why the process explains the price
- FAQ
This page walks through the process in order. Exact methods vary from workshop to workshop, and companies don’t publish every detail, so where we give temperatures or times, they’re typical ranges from published industry and heritage sources rather than one maker’s recipe. For the story of how the craft developed, see our history of Limoges boxes.
The raw material: hard-paste porcelain
Limoges porcelain is “hard-paste” porcelain, made from three main ingredients:
- Kaolin, a fine white clay, roughly half the mix. It gives whiteness and body.
- Feldspar, about a quarter. It melts in the kiln and binds everything into a glassy, translucent material.
- Quartz, about a quarter. It adds strength and stability.
Those proportions (around 50/25/25) are the indicative recipe given in the official specification for the “Porcelaine de Limoges” geographical indication and by the Limoges tourist office. Mixed with water, the ingredients become either a plastic paste for shaping or a creamy liquid called slip (barbotine in French) for pouring into molds. Most boxes are made from slip.
Step 1: Designing and modeling the shape
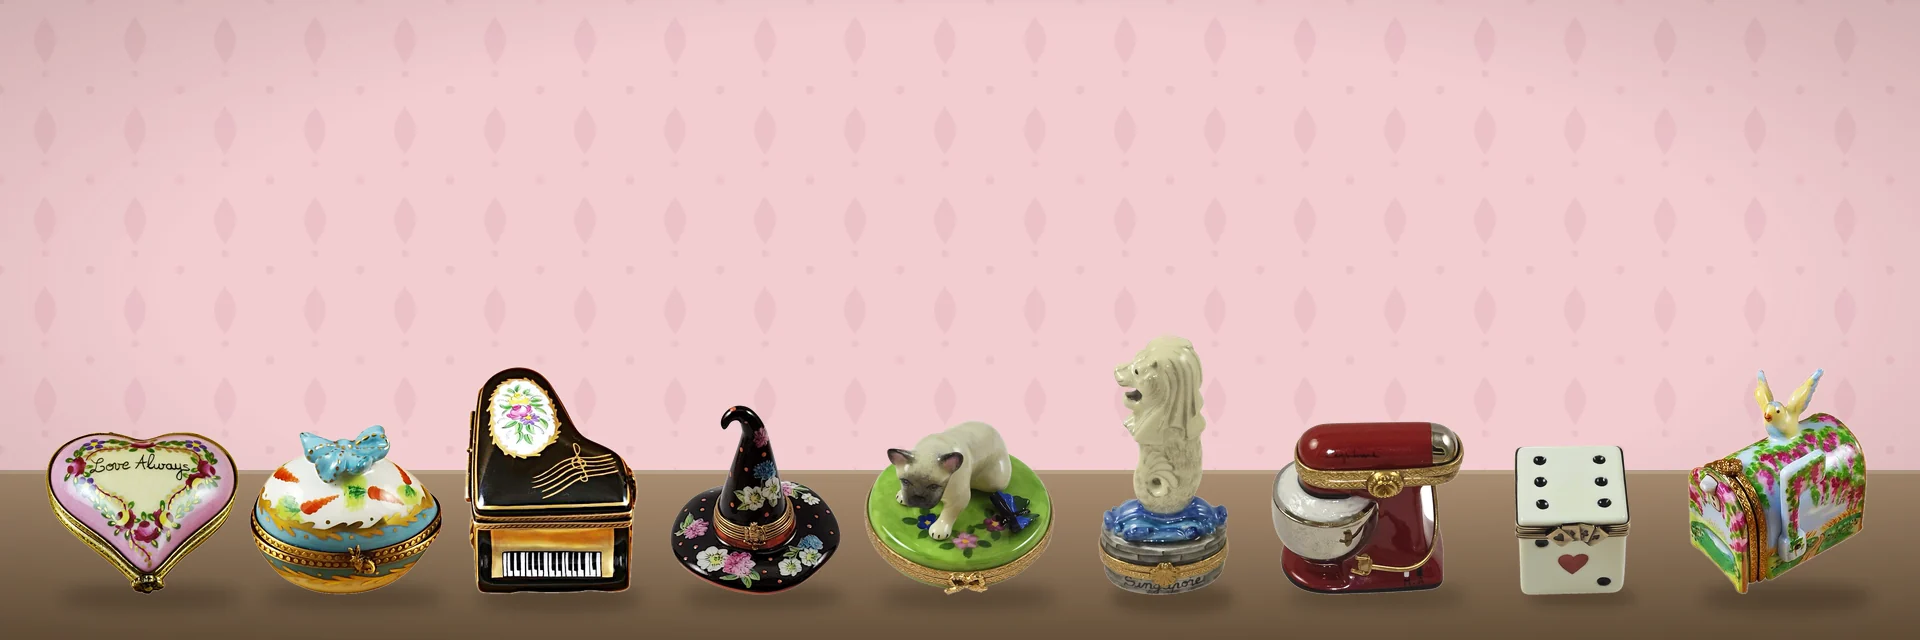
Every new box starts as an idea: a tiny piano, a pumpkin carriage, a sleeping cat. A designer works out the shape, the split between lid and base, where the hinge will sit, and how the painted decoration will flow across the surfaces.
A modeler then sculpts the original, usually in plaster or a firm clay, by hand. The model has to be made larger than the finished box because porcelain shrinks a great deal in the kiln. The model also has to be practical: it needs to come out of a mold cleanly, so deep undercuts and very thin protrusions are avoided or made as separate pieces.
Good to know: Porcelain loses a significant share of its size between the mold and the finished piece. The Limoges tourist office cites a loss of about 14% in volume during the high-temperature firing alone, and modelers must account for total shrinkage from drying and both firings.
Step 2: Making the molds
From the original model, the workshop makes a “mother” mold (sometimes called a matrix), and from that it produces the working molds used on the casting bench. Working molds are made of plaster because plaster is porous: it draws water out of the slip.
A box needs at least two molds, one for the base and one for the lid, and complex figures may need molds in several parts. Small add-ons such as a dog’s tail, a teapot spout or a bow may be cast separately.
Plaster molds wear with use. Each pour softens the detail a little, so workshops retire molds after a certain number of castings. Figures quoted by dealers vary, and we haven’t found a reliable published number, but the principle explains why later pieces in a long run can be slightly softer in detail than earlier ones, and why a “retired” design can become scarce.
Step 3: Slip casting
The caster pours liquid slip into the assembled plaster mold. As the plaster absorbs water, a layer of firm clay builds up against the mold walls. When that wall reaches the right thickness (a matter of experience and timing), the caster pours out the excess slip, leaving a hollow shell.
After a short wait, the clay has stiffened enough to be released. The mold is opened and the piece, now called “greenware,” is lifted out. At this point it’s fragile, about the consistency of hard cheese.
Step 4: Drying, fettling and assembly
The casting has seams where the mold parts met and small rough spots where the slip was poured. Finishers remove these by hand with fine blades and damp sponges, a step called fettling. They smooth the rim where the lid will meet the base, so the two halves sit flush.
Separately cast details are attached with a little slip used as glue. The piece is sponged again and left to dry slowly; drying too fast can cause warping or cracks. Many defects that show up later, such as a lid that won’t sit level, can be traced back to this stage, so care here pays off throughout.
Step 5: The biscuit firing (dégourdi)
The dried greenware goes into the kiln for its first firing, known in French as dégourdi. The geographical-indication specification puts this firing at about 900 to 1,000°C (roughly 1,650 to 1,830°F); the Limoges tourist office cites 980°C. The result is “biscuit” or bisque: hard enough to handle, but still porous and chalky.
Porosity is the point. A porous biscuit absorbs glaze evenly in the next step.
Step 6: Glazing
The biscuit pieces are dipped in, or sprayed with, a glaze: a liquid mixture of finely ground minerals similar to the porcelain body but formulated to melt into glass. The bottom edge, or “foot,” where the piece will rest in the kiln, is wiped clean so it doesn’t fuse to the kiln shelf.
Step 7: The glaze firing (grand feu)
Now comes the “great fire,” the grand feu. The specification requires a reducing phase (reduced oxygen in the kiln) at a minimum of 1,360°C, and Limoges sources commonly cite about 1,400°C (roughly 2,550°F). At this temperature the body vitrifies: it becomes hard, white, non-porous and translucent at thin edges, and the glaze fuses with it into a single brilliant surface.
This is also when the porcelain shrinks the most. Some workshops fire lids and bases together so they shrink identically and still fit afterward.
Out of the kiln comes a gleaming, undecorated white box: a “blank.” In the Limoges trade, blanks may be painted by the same workshop or passed to an independent decorator (see The Makers). Under the geographical indication, both stages must take place in the Haute-Vienne department for a piece to carry that label.

Step 8: Hand painting in layers
Decoration is where the box gets its personality, and where most of the hours go.
Painters use colors made from metal oxides ground into powder and mixed with oils to a smooth, brushable paste. They paint onto the glazed surface with very fine brushes, sometimes with only a few hairs. Many boxes are fully hand-painted (“peint main”); others combine a printed transfer with hand-painted detail (“décor main”). Our marks guide explains the difference.
Because the colors are painted on top of the glaze, they have to be fused in further kiln firings. These “petit feu” (small fire) firings run far cooler than the glaze firing. Overglaze enamels on porcelain are generally fired somewhere in the range of about 750 to 950°C (roughly 1,380 to 1,740°F), depending on the colors. The painted color softens slightly, bonds to the glaze, and becomes permanent.
Why several firings? Different colors mature at different temperatures, and colors can’t always be laid on top of one another without the earlier layer being fixed first. A typical sequence might be:
- Background and base colors, fired.
- Shading and mid-tones, fired.
- Fine detail: eyes, outlines, lettering, tiny flowers, fired.
- Gold, fired last (see the next step).
The exact number of decoration firings varies with the design. A simple floral box might need two or three; a richly detailed scene with gold can need more. Between each firing the box must cool fully before the painter picks it up again.
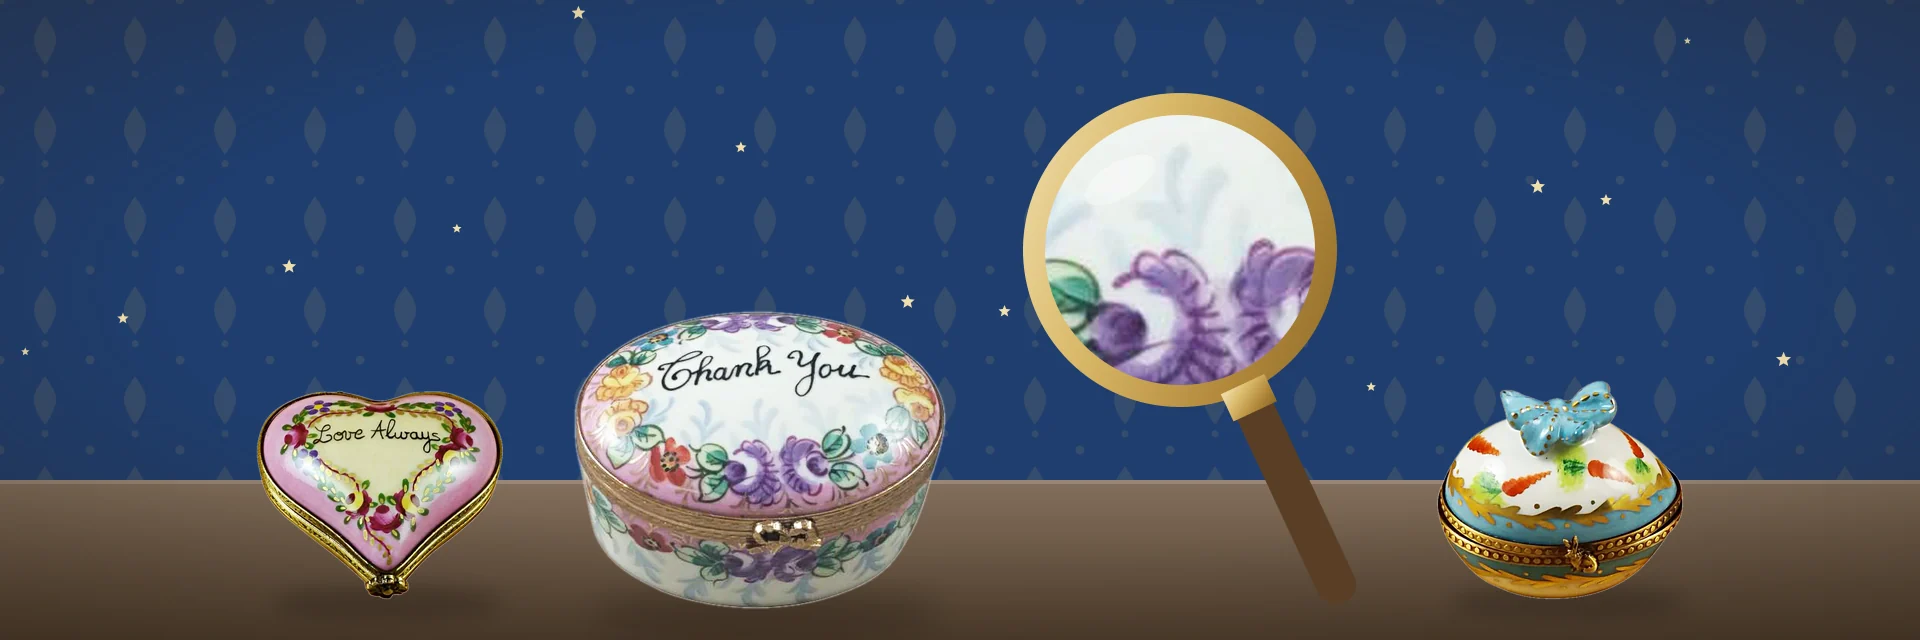
Tip: Look at a good box under a magnifier. You should see slight variations in brushstrokes, tiny overlaps where one color meets another, and painted details that don’t quite repeat from one side to the other. That’s what layered hand painting looks like. Our authenticity guide shows how to compare it with printed decoration.
Who paints the boxes
Painting a Limoges box is skilled work learned over years. Painters often specialize in particular kinds of decoration, and many sign or initial the base, which is why you’ll often see small painted letters next to the printed mark. When collectors talk about a box being “well painted,” they mean confident brushwork, clean edges, convincing shading, and lettering that’s crisp at tiny sizes.
Step 9: Gilding
Gold is applied with a brush, usually as the last decoration so it can be fired at its own temperature without disturbing the colors underneath. It’s used for rims, bands, accents, lettering and highlights. The official Limoges specification describes hand-applied gold bands and patterns, and a premium “incrustation” technique in which the glaze is first etched or sandblasted, then two layers of gold are applied with two firings and then burnished with an agate tool to a soft shine.
Gold on a finished box is real metal fused to the surface, which is why it can wear if the box is handled roughly or cleaned with anything abrasive. Our care guide explains how to protect it.
Step 10: Fitting the brass mounts, hinge and clasp
The metal fittings are what turn a porcelain lid and base into a working box, and they’re fitted by hand.
Each box needs:
- Two mounts (bezels): thin metal bands that follow the rim of the base and the rim of the lid. Because every handmade box differs very slightly, the mounts are shaped and sized to each piece.
- The hinge: a small joint, usually at the back, connecting the two mounts so the lid swings open and closes squarely.
- The clasp: a small catch at the front that holds the lid shut. On figural boxes the clasp is often decorative in its own right, shaped as a bee, a bow, a heart, a tiny animal or an object that suits the theme.
The mounts are typically brass, often finished to a gold tone. Metalworkers cut and shape the parts, join them by soldering, and secure the mounts to the porcelain. They then check that the lid closes level and the clasp catches with a gentle click. A poorly fitted mount shows up as a lid that rocks, a gap at the front, or a clasp that has to be forced; these are among the first things to check when buying.
Good to know: Clasp designs are part of a box’s identity. Some companies are known for distinctive hinge and latch styles, and a matching themed clasp is often a sign of care in the design.
Step 11: Surprises, finishing touches and packing
Many modern boxes include a “surprise”: a tiny loose porcelain piece inside, such as a mouse in a cheese box or a ring inside a wedding box. These are made in the same way as the box itself, in miniature: modeled, molded, cast, fired, painted and fired again. Some boxes also have a painted interior or a little message under the lid.
The finished box is then marked on the base if it hasn’t been already (company name, “Limoges France,” “Peint Main,” painter’s initials, perhaps an edition number) and packed, often with a certificate or presentation box.
Step 12: Quality control
Checks happen all the way through, not just at the end. At each stage, workshops typically look for:
- After casting and fettling: cracks, thin spots, air bubbles, seam marks.
- After the glaze firing: warping, specks in the glaze, crawling (bare patches), lids that don’t match their bases.
- After each decoration firing: blurred or bubbled colors, missed areas, smudges.
- After mounting: level closing, even gaps, smooth hinge action, secure clasp.
Because a box can fail at any stage, from a warp in the kiln to a slip of the brush late in painting, a share of pieces never make it to sale. Those losses are part of what you pay for in a genuine handmade box.
How long does it take?
There’s no single answer, and workshops rarely publish timings. What we can say is how the time adds up:
- The kilns set the pace. Each firing involves heating, holding and slow cooling. Overglaze firings have historically taken several hours of heating plus a similar period of cooling, and a box may go through the kiln five or more times in total (biscuit, glaze, then several decoration firings).
- Painting is the slowest hands-on stage. A detailed box may need several separate painting sessions, each followed by a firing.
- Pieces wait their turn. Workshops fire full kilns, so a box may wait for a load to be ready.
Put together, a single box typically spends many days, often a few weeks, in production from casting to packing, even if the hands-on time is a matter of hours. A complex design with fine detail, gold and a surprise inside takes longer than a simple painted oval.
Why the process explains the price
Once you see the steps, the cost of a genuine Limoges box makes more sense: skilled modeling, plaster molds with a limited life, several kiln firings with energy costs and losses, hours of trained hand painting, real gold, and hand-fitted brass mounts, all done in one French department under geographical rules. Our guide What’s It Worth? explains how these factors, plus condition and rarity, affect value.
It also explains why no two boxes are exactly alike. Two boxes from the same mold, painted by the same artist from the same design, will still differ in tiny ways. Collectors see that as the point.
If you’d like to see the craft for yourself, some Limoges workshops offer guided tours; see Visiting Limoges. And if you’re ready to buy a hand-painted box, LimogesBoutique.com carries current designs from established makers.
FAQ
Are Limoges boxes really painted by hand? Boxes marked “Peint Main” are hand-painted. “Décor Main” means hand-decorated, which may combine a printed transfer with hand-painted or hand-gilded detail. Our glossary defines both terms.
How many times is a Limoges box fired? At least two firings make the porcelain (biscuit and glaze), then one or more decoration firings fix the colors and gold. Detailed boxes commonly go through the kiln five or more times in total.
What temperature are Limoges boxes fired at? The biscuit firing is around 900 to 1,000°C, the glaze firing around 1,400°C (at least 1,360°C under the official specification), and decoration firings much cooler, typically in the range of about 750 to 950°C depending on the colors.
What are the hinges made of? The mounts, hinge and clasp are usually brass, often with a gold-tone finish. They’re shaped and fitted to each box by hand.
Why do some boxes from the same design look slightly different? Every stage involves handwork, molds soften over time, and each painter’s touch varies. Small differences are normal and are a sign of handmade production.
Can a broken hinge be repaired? Often, yes, by a specialist in porcelain or small metalwork restoration. Don’t use household glue on a valuable box, since a botched repair can lower its value.
Keep reading
 HistoryHow a white clay found near Limoges in 1768 led to royal porcelain, 18th-century snuffboxes and today's hand-painted…
 Shapes & StylesA plain guide to Limoges box shapes and styles: classic ovals and hearts, figural themes, surprises inside, sizes,…
 Is It Real?Is your Limoges box genuine? Use our hands-on checks for marks, brushwork, hinges, porcelain and price, plus real…